The Absolute Beginner’s Guide: Part Three, Packing Your Bowl
First we talked about the basics of hookah anatomy. Then, we got into the gritty details of hookah charcoal. This week, we’re going to discuss what it takes to pack your tobacco in your bowl and get a great smoking session out of it. So, lets get started.
What Your Probably Using
If you’re reading this guide, there’s a good chance you’re not using a specialty bowl, such as a Vortex or phunnel bowl. Rather, you’re probably using the bowl that came with your hookah. That’s a standard bowl. It may be an Egyptian bowl, a mod Bowl or a Mya bowl, but regardless, the routine for packing pretty much any of these will be about the same. So, for this guide, we’re going to assume you’re using some kind of a standard bowl.
We’re going to teach you the most common, basic method for packing your bowl which, in general, is the most difficult to mess up. There are other methods and styles for packing, but we won’t get into those here.
Prepping Your Tobacco
So you have your tub of tobacco, you have your bowl and you have a big roll of heavy-duty tin foil. So now what. Well, before you load that juicy goodness into the bowl, you want to make sure your tobacco is as ready to jump in as you are.
Pack The Bowl
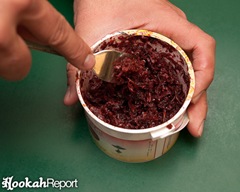
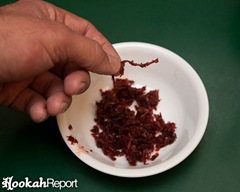
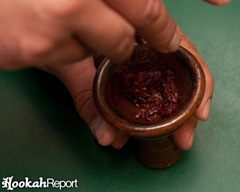
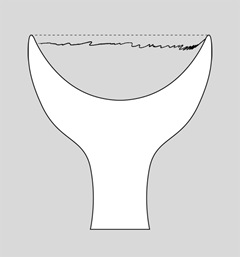
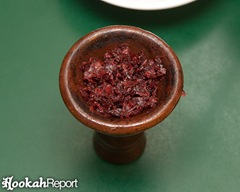
Here’s where things can get tricky for some people, and where the term “packing” becomes kind of strange. For a standard packing method, you want your tobacco to sit loosely in the bowl. You don’t want to “pack” it down, in fact, you want to fluff it up. You want to try and create as much volume as you can, with as little tobacco as possible. This usually means sprinkling the tobacco lightly into the bowl. Here are a few rules you will probably one day learn to break, but for now act as a good starting point.
Seal the Bowl With Tin Foil
The tobacco is mixed up. The bowl is packed. And now you’re wondering just what to do with the roll of tin foil you have sitting on the counter-top. The tin foil is pulled over the top of the bowl and acts as a screen between the burning charcoal and the shisha tobacco. It allows the tobacco to bake rather than burn. Good tin-foil technique can make all the difference between a great smoking session and a terrible one. But, sealing the bowl with tin foil can be more challenging than it seems.
If your foil is too thin (heavy duty foil is recommended, but two sheets of standard tin foil will work too), or pulled over the bowl too loosely, the tobacco can burn unpredictably. Until you develop your own methods (or tweak mine), try following these steps to seal the bowl tightly with tin foil.
Step 1: Portion Your Tin Foil
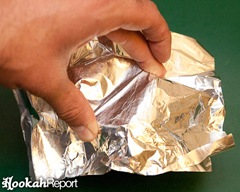
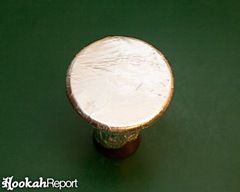
You’ll want to use a square piece of tin foil roughly 2.5—3.5 times the diameter of your bowl. It doesn’t have to be perfect, but this is a good rule of thumb. Try your best to avoid allowing wrinkles to form in your foil.
Step 2: Place the Foil Atop The Bowl
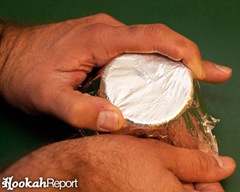
Place the foil sheet, centered, on top of the bowl.
Puncture the Foil
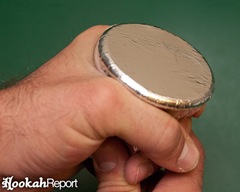
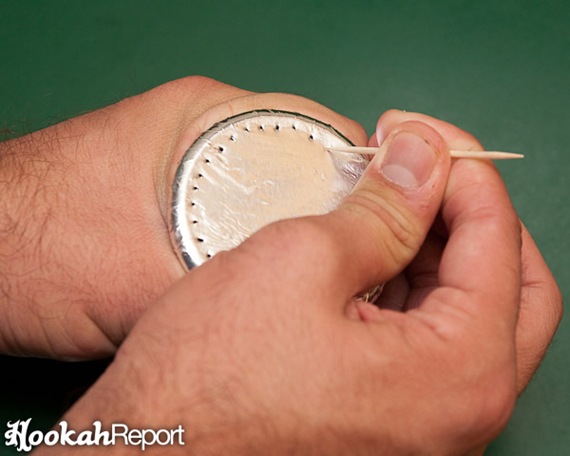 So now your bowl is sealed with smooth, tight foil and it’s ready to be punctured with a safety pin or tooth pick. Puncturing your tin foil, if not done carefully can undo all the hard work you put in to keep the foil tight. So, to prevent that, hold the bowl tightly around the top edge with one hand, and puncture the foil with the tool in the other hand. If your foil is good and tight, it should offer very little resistance when you force your tool through.
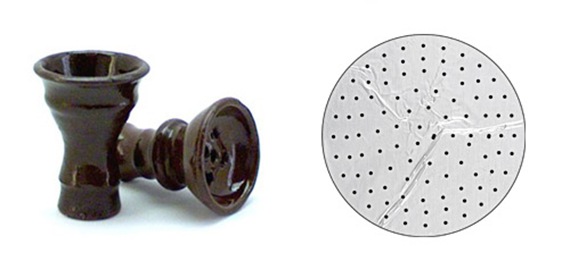
Although there are many different patterns which you could use to puncture your bowl, here is a basic pattern for a standard bowl. The size of the holes doesn’t matter too much, the general rule of thumb is this. If you puncture with something very small (like a safety pin), then you’ll want to use more holes. If you puncture with something larger (like a pen), you’ll want fewer holes.
Congratulations… oh wait. (Next time on the Absolute Beginner’s Guide.)
Your bowl is ready to smoke! With your charcoal lit and your bowl ready, pull your hookah out and get ready to smoke. Oh, but wait, you’re not quite there yet. Your hookah still doesn’t have any water in it, you don’t have anything to drink or munch on and I’m pretty sure that’s not the end of the hose that goes into the hookah. Next time we’ll talk about the last few things you’ll need to consider before you get smoking. Like proper water levels and hose use. See you then!



Oh but where oh where is the rest ! 🙁
Leave your response!